Screenshots and Recordings in PR Descriptions: Why They Matter and How to Nail Them
As engineers, we live and breathe code. We write it, refactor it, test it, and then, crucially, we ask our peers to review it. A well-crafted Pull Request (PR) description is the cornerstone of an efficient review process, acting as a guide for your colleagues to understand your changes, test your work, and provide meaningful feedback. But even the most articulate text descriptions can fall short when explaining visual changes, complex user flows, or intricate system interactions. This is where screenshots and recordings become indispensable.
The Unspoken Truth: Text-Only PRs Are a Chore
Think about the last time you reviewed a PR that touched a UI component, introduced a new feature with multiple steps, or significantly altered a CLI tool's output. How many times did you:
- Pull down the branch locally: To see the changes in action, rather than just reading about them. This context switching is a productivity killer.
- Struggle to visualize the impact: Even with detailed instructions, imagining a new layout, an animation, or a multi-step user journey can be challenging and prone to misinterpretation.
- Miss subtle nuances: A slight shift in button alignment, a flicker during a transition, or an unexpected error message might be impossible to convey effectively with words alone.
- Spend extra time asking clarifying questions: Often, "Can you show me what this looks like?" is the quickest way to resolve ambiguity.
Text-only PR descriptions impose a significant cognitive load on reviewers. They force your colleagues to reconstruct your mental model of the change, which is inefficient and a breeding ground for misunderstandings. Visual aids cut through this noise, providing immediate, unambiguous context that accelerates the review cycle and improves feedback quality.
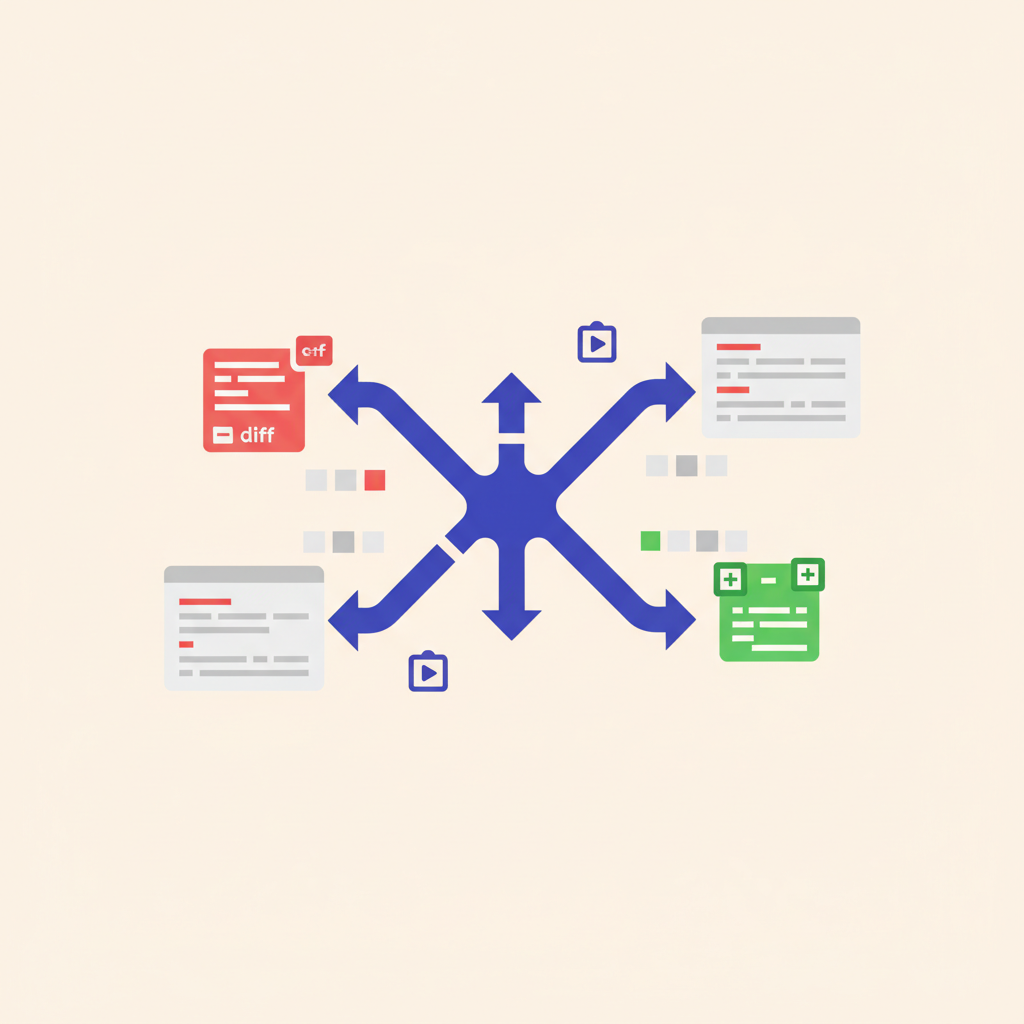
What to Show and When
Not all visuals are created equal, and knowing when to use a static image versus a dynamic recording is key to effective communication.
Screenshots (Static Images)
Screenshots are perfect for capturing fixed states or discrete visual elements. Use them when:
- UI changes are static: A new button, a redesigned form, updated text labels, or a different layout. A simple "before and after" screenshot is often incredibly effective here.
- Specific error messages or states: Show exactly what happens when a particular error condition is met.
- Configuration or dashboard changes: Visual proof of a new setting or a modified dashboard widget.
- Command-line output: For changes affecting CLI tools, infrastructure scripts, or logs. A screenshot of the terminal output provides immediate verification.
- Diagrams or architectural changes: If your PR involves a new system design, a quick diagram can clarify the scope.
Recordings (GIFs or Short Videos)
Recordings, especially animated GIFs, are invaluable for demonstrating dynamic behavior, user flows, and anything that involves interaction or time. Opt for a recording when:
- User flows or multi-step interactions: Show how a user navigates through a new feature, from start to finish.
- Animations or transitions: Demonstrate smooth loading states, modal transitions, or interactive elements.
- Real-time data updates: Illustrate how data refreshes, charts update, or notifications appear.
- Complex interactions: If a user needs to drag, drop, resize, or perform other intricate actions.
- API interactions from the terminal: Capture a
curlcommand being executed and its JSON response, or a sequence of CLI commands demonstrating a new workflow.
Tools of the Trade: Capturing Visuals Efficiently
You don't need fancy software to create great visuals. Your operating system and browser often provide all you need, supplemented by a few handy open-source tools.
For Screenshots
- Operating System Native Tools:
- macOS:
Cmd+Shift+4for selection,Cmd+Shift+3for full screen.Cmd+Shift+5offers more options including screen recording. - Windows: Snipping Tool (Windows Key + Shift + S) or the newer Snip & Sketch.
- Linux:
scrotis a popular command-line tool. For example, to select an area after a 10-second delay:bash scrot -s -d 10 /tmp/my_pr_screenshot.pngThis gives you time to set up the window or element you want to capture.
- macOS:
- Browser Extensions: Tools like "Full Page Screen Capture" can grab entire web pages, even those that scroll off-screen, which is great for long forms or dashboards.
wkhtmltoimage: For programmatic screenshotting of web pages, useful in automated testing or documentation pipelines.
For Recordings (GIFs and Videos)
- Screen Recorders:
- macOS: QuickTime Player (File > New Screen Recording).
- Windows: Xbox Game Bar (Windows Key + G) or ShareX (free, open-source, highly versatile).
- Linux: OBS Studio (cross-platform, powerful), SimpleScreenRecorder.
- GIF Recorders:
- LICEcap: Simple, lightweight, cross-platform GIF recorder.
- ScreenToGif: Feature-rich, Windows-only, allows editing frames.
- Command-line Tools for Terminal Recordings:
-
asciinema: This is a fantastic tool for recording terminal sessions. It doesn't capture pixels, but rather the text output and timings, resulting in tiny, high-quality recordings that can be played back in a terminal or embedded as animated GIFs. ```bash # Start recording asciinema rec my_cli_demo.castPerform your commands...
For example:
cd my-project
npm install
npm run dev
curl http://localhost:3000/api/status
End recording (Ctrl+D or exit)
Upload to asciinema.org for easy sharing and GIF conversion
asciinema upload my_cli_demo.cast
`asciinema` will provide a URL that you can link to, or even an embeddable player. Many platforms (like GitHub) can directly render `asciinema` recordings as animated GIFs if you link to the `.gif` version provided by their service.
*   **`ffmpeg`:** The swiss army knife of video and audio. You can record your screen directly with `ffmpeg`, but it's often more practical for converting existing video clips into optimized GIFs:
bash # Convert an MP4 to a GIF, optimizing for size ffmpeg -i input.mp4 -vf "fps=10,scale=500:-1:flags=lanczos" -c:v gif -b:v 1M output.gif`` Adjustfps(frames per second) andscale` (width) to balance quality and file size.
-
Integrating Visuals into Your PR Description
Once you have your visuals, getting them into your PR description is usually straightforward. Most modern Git hosting platforms (GitHub, GitLab, Bitbucket, Azure DevOps) support Markdown for PR descriptions.
Hosting Your Visuals
- Direct Upload (Recommended for Simplicity): For GitHub, GitLab, and many others, you can simply drag and drop your image or GIF file directly into the PR description text area. The platform will automatically upload it to its own asset storage and embed the Markdown link. This is by far the easiest method.
- Cloud Storage: If you need more control or have specific compliance requirements, you can upload to services like Amazon S3, Google Cloud Storage, or dedicated image hosting platforms like